Movavi HD Video Recorder
When you want to record high quality videos from your screen, you are likely to want to aim for ‘High Definition’ (HD) resolutions. Technically HD is a standard that encompasses several different resolutions, though the two that tend to be used for video recording are resolutions of either 720p (1280×720 pixels), or ‘Full HD’ 1080p (1920×1080 pixels).
Also Check: How to fix “This video is not working in your country”?
If you opt to use Movavi Screen Capture Studio as a HD video recorder, you’ll be able to record at either of those resolutions. Keep in mind however that because you’re recording videos from your screen – the resolution of your display is also important. In other words if your display is 1080p then recording in ‘Full HD’ resolution would record the entire screen.

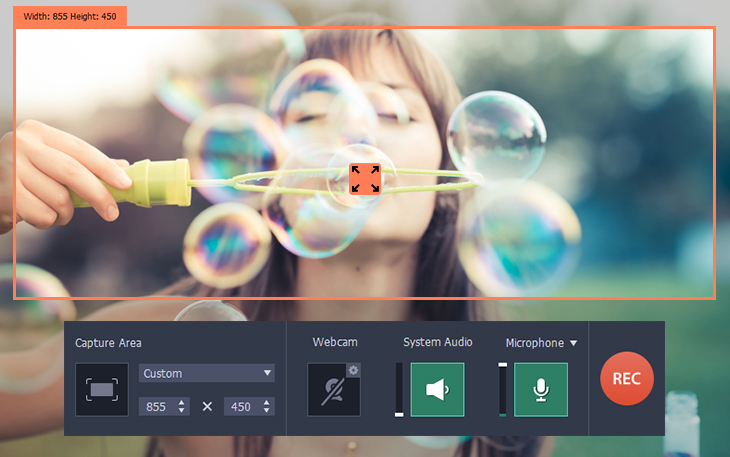
Part of what makes Movavi Screen Capture Studio an excellent tool to record HD videos is the fact that it is easy to set up. When you’re ready you can launch the software and select ‘Record screen’ to open the screen recorder – then immediately define the capture area by drawing a frame on-screen.
To ensure that you’re recording in HD, you should expand the list under ‘Capture Area’ in Movavi Screen Capture Studio’s on-screen interface. In that list you’ll be able to select presets that use HD resolutions, or can opt to record in full screen instead. At any point you can resize and reposition the frame on-screen, just be careful that it retains its HD-quality specifications when you do.
After you’ve defined the capture area, you can then open the ‘Settings’ and select ‘Preferences’ then click on the ‘Video’ tab. In that section you’ll see a slider that you can use to adjust the frame rate of Movavi Screen Capture Studio to up to 60 frames per second for the smoothest playback. Assuming you want your video to truly be the best quality possible, a high frame rate is essential – though it does mean that the file size will be significantly bigger too.
Aside from the parameters highlighted above, you can set the rest according to your needs and select the audio source, adjust the audio levels, or even capture keyboard and mouse actions. Once everything is set you can then click ‘REC’ to start recording, and control the recording using the controls on Movavi Screen Capture Studio’s interface.
Related Post: Thinking About Making a Corporate Video? These 4 Tips Can Help You Get the Best Results
While you could click ‘Save As’ and save the video once it is done recording, you may want to open it in Movavi Screen Capture Studio’s built-in editor instead. Within that editor you’ll find numerous features that you can use to cut and join video segments, enhance the video quality, apply special effects, add audio tracks, insert captions, include animated transitions, and much more.
By following the instructions above you should be able to easily record HD-quality videos from your screen using Movavi Screen Capture Studio. More importantly you’ll also have the option to edit and improve the videos that you record, so that you can produce truly impressive and professional-looking content.
Related Post:
